Case study
Kozel Beer
Advertising shot
Kozel is an authentic Czech beer with a tradition dating back to 1874. Known for its rich flavor and rustic identity, Kozel is not just about beer—it's about moments of relaxation, local tradition, and that familiar "let's stay a little longer" feeling.When I chose to take on this personal project, I knew we didn't just want a simple product photo; we wanted an image that captured the essence of the brand. So, I decided to highlight the drink's freshness, the texture of the bottle, and the dynamics of pouring, all while maintaining an authentic atmosphere. It was a project that blended creativity with technical details, and the final result perfectly tells Kozel's story: rustic, authentic, and ready to be enjoyed.
Concept Development
The vision behind the shot
The core question was: How can we capture Kozel’s tradition and authenticity in an image that instantly makes you crave it?
The brand’s key elements served as the starting point:
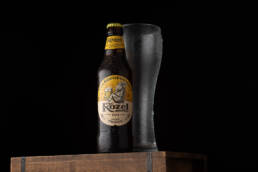
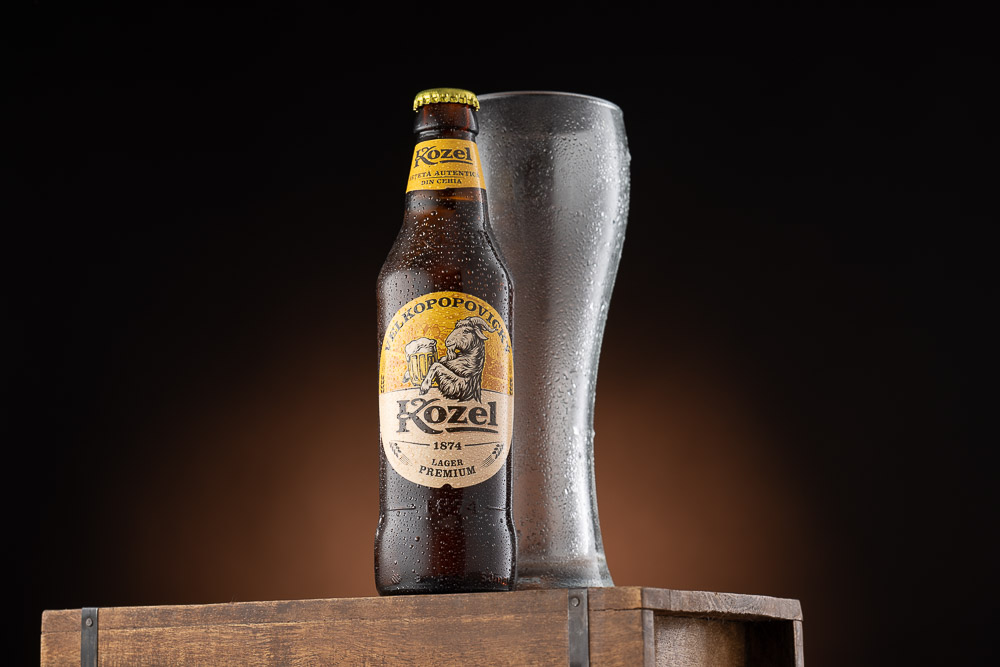
- Refreshing texture: The cold bottle, covered in droplets, evokes the freshness of an authentic beer.
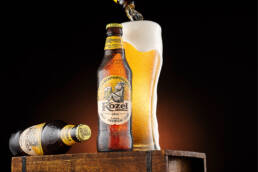
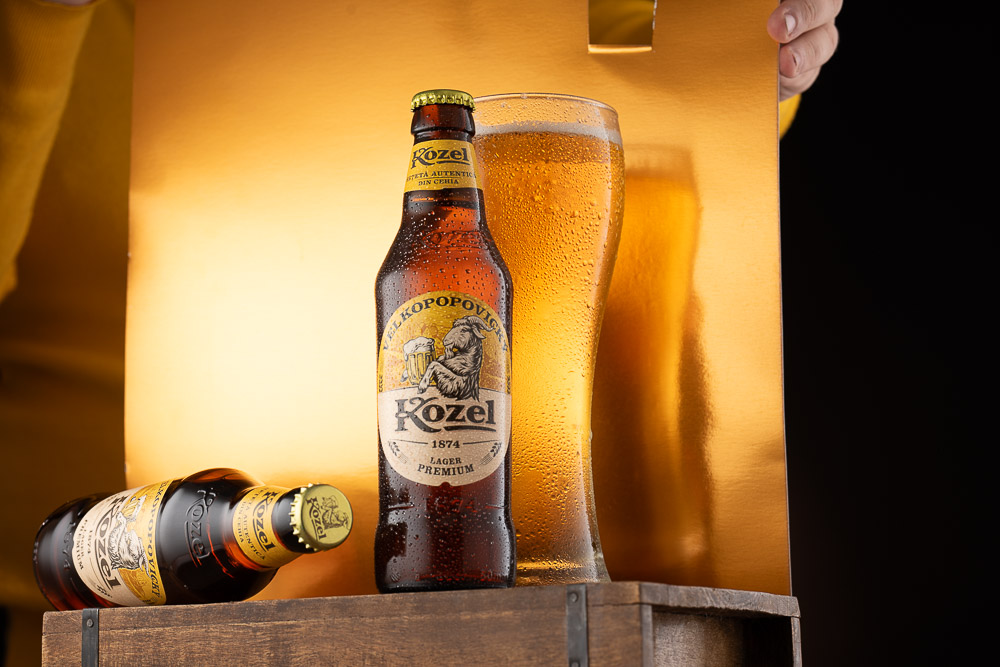
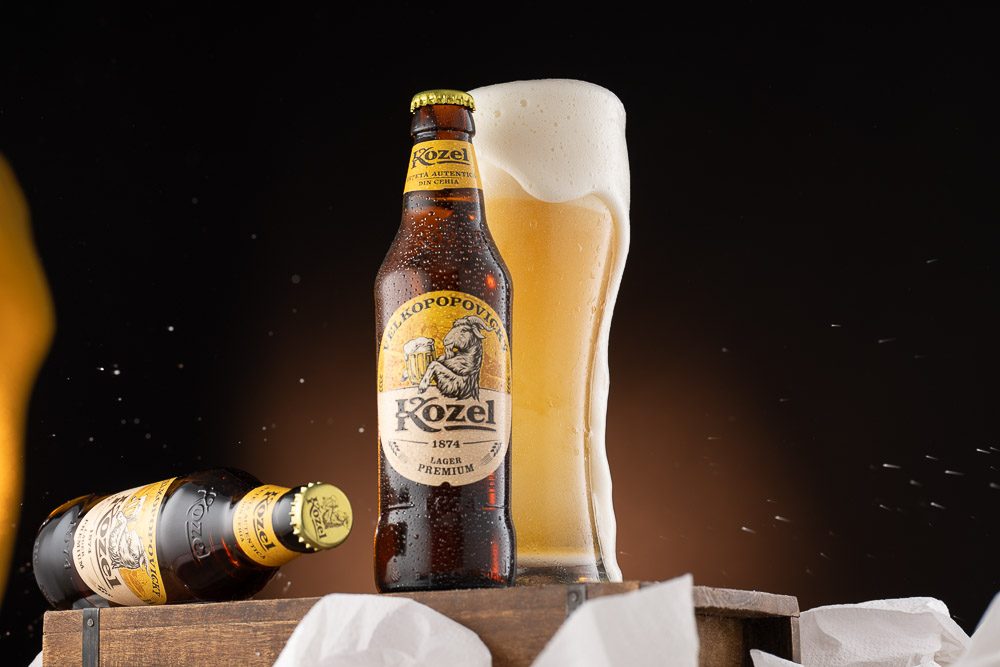
- Beer pouring: The fine foam and golden color suggest premium quality.
- Rustic elements: Wooden frames and a warm backdrop create a traditional atmosphere, evoking the brand’s Czech origins.
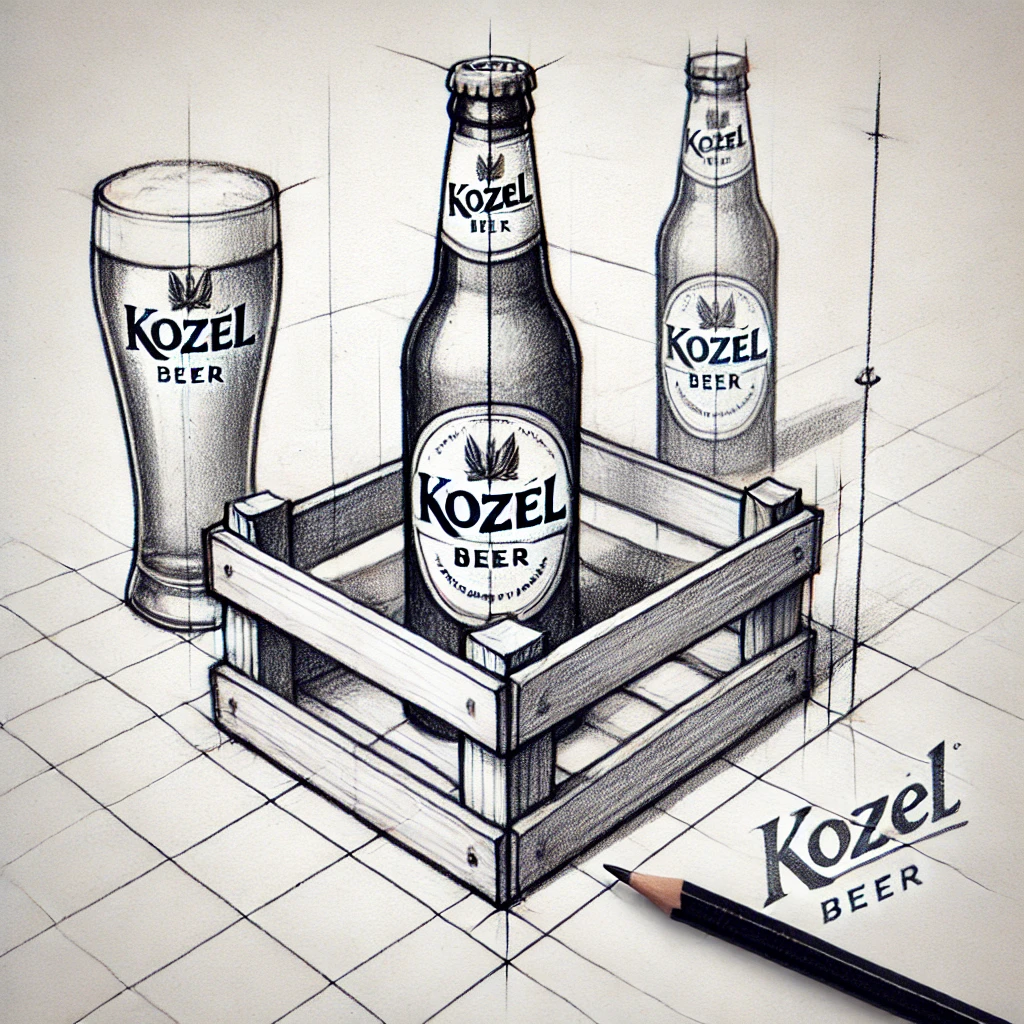
Based on these elements, I built a visual concept that emphasizes the product, transforming it into a captivating visual experience.
The shooting process
Bringing the vision to life
Camera Settings
To capture every essential detail, I used:
- Camera: Nikon Z8, 48 MP
- Lens: Nikon Z mount 85mm f/1.2
- Settings: f/8, ISO 64, shutter speed 1/160
The camera was mounted on a Peak Design tripod, positioned at a low angle to create a powerful and balanced image.
Lighting
- Godox AD600 Pro: Used at 1/4 power with a small strip box and thick diffusion to illuminate the bottle and glass.
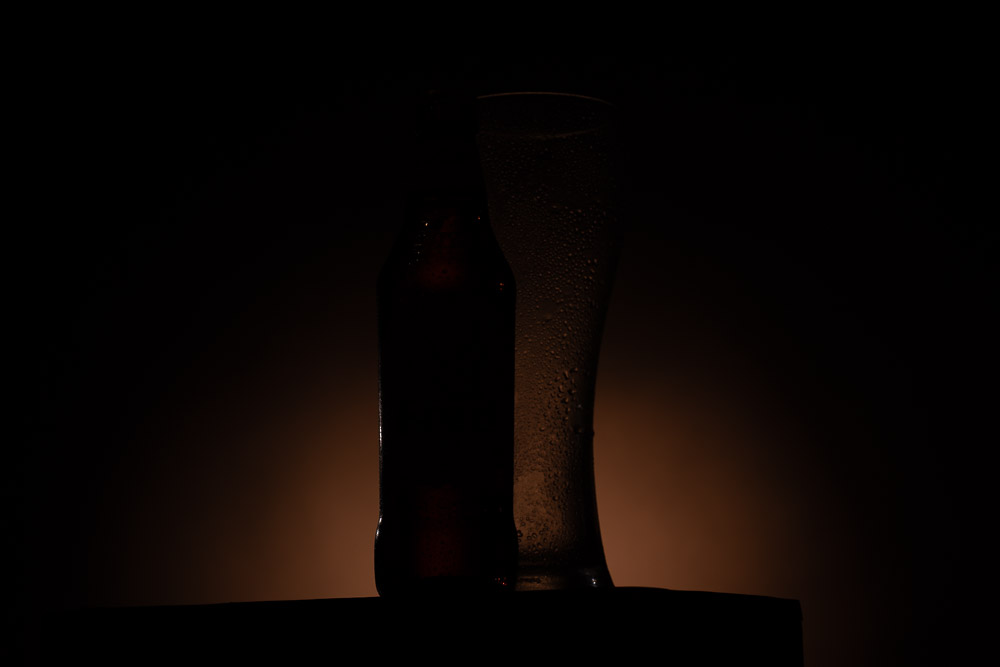
- Godox AD400 Pro: Created a warm background with an orange gel at 1/2 power.
- Godox AD200 Pro: Positioned with a grid to highlight the liquid in the glass, used at 1/128 power.
This setup was crucial to bringing the beer’s freshness to life and highlighting every detail of the bottle and glass.
Behind the scenes
Where the real magic happens
A photoshoot is never just about the gear—it’s about making all the details work seamlessly together. We experimented with lighting, tested dozens of angles, and poured the beer so many times we lost count.
What we did:
- Perfect lighting: Soft light on the bottle and glass, avoiding harsh shadows.
- Flawless pouring: The creamy foam and bubbles were the stars of this project.
- Positioning: Everything was meticulously arranged, from every detail to each reflection.
Post production
Creating the final image
Enhancing the Details
Once the shoot was done, the real magic unfolded in post-production.
- Color correction: Warm tones were adjusted to emphasize the beer’s golden hue and the bottle’s texture.
- Details: The droplets and foam were subtly enhanced to maintain a natural, fresh look.
- Editing tools: Lightroom, Photoshop, and Luminar Neo, we used just the right amount to make the product shine.